ONLINEMost common route
Apply online
Digital photo + photo codeUse this when the application is online and you need the digital route first.
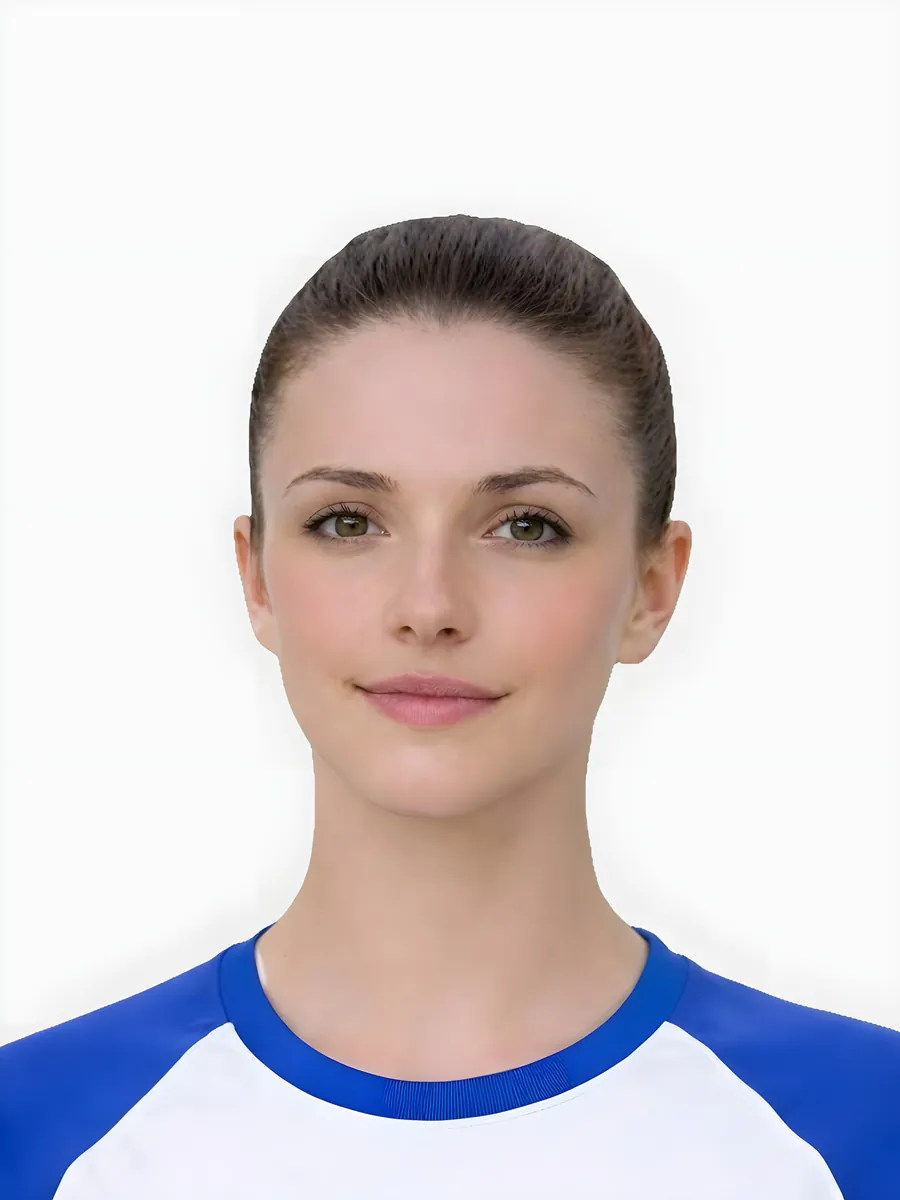
Passport-Photo.co.uk helps UK users prepare passport photos from home, check a free preview first, and choose the correct digital, code, or print-ready output route.
Passport-Photo.co.uk is an independent UK online passport photo service for users who want to prepare a passport photo from home, check the preview before payment, and choose the correct output route.
Conversion improves when the site is explicit about what it does, what it does not promise, and how a user gets help if something goes wrong.
Passport-Photo.co.uk is an independent service provider and is not affiliated with GOV.UK, HM Passport Office, or any government authority. Support can help with this website workflow, orders, downloads, delivered outputs, privacy, and policy questions, but not official passport application status or government decisions.
Read the service boundaryUploaded passport photos are sensitive. The public photo-handling page explains how upload, support, privacy, and deletion requests are routed.
Review photo handlingThe quality review page explains what the preview can screen, what support can review, and where official application decisions remain outside the service.
Review quality processTechnical compliance issues in the delivered file can qualify for a remake or refund. Change of mind after digital delivery, wrong route choice, or a weak source photo usually do not.
Review refund and remakeEmail support@passport-photo.co.uk with your order email, screenshots, or rejection evidence. Refund claims are reviewed against the published policy and evidence requirements.
Email supportPassport-Photo.co.uk is an independent UK online passport photo preparation service. Review the free preview before payment, check which output your application asks for, and read the support and policy information before you continue.
Passport-Photo.co.uk is an independent UK-focused online passport photo preparation service. It helps users start with a source photo, review a preview, and choose a digital, code, or print-ready output route.
The service is not GOV.UK, HM Passport Office, or an official application portal. It does not issue passports, make application decisions, or control official processing times.
A preview-first flow helps users avoid paying for a visibly weak source photo or the wrong output type. The final route should match the actual application instruction, not a generic passport-photo assumption.
Support at support@passport-photo.co.uk can review order, download, code, output, refund, and service-delivery questions. Official application status and identity-document eligibility remain outside this website.
Start with the free preview, then choose the result your application actually needs: digital photo, print-ready sheet, or photo code.
The main file most online passport applications need.
A print layout for home or shop printing when you still need paper photos.
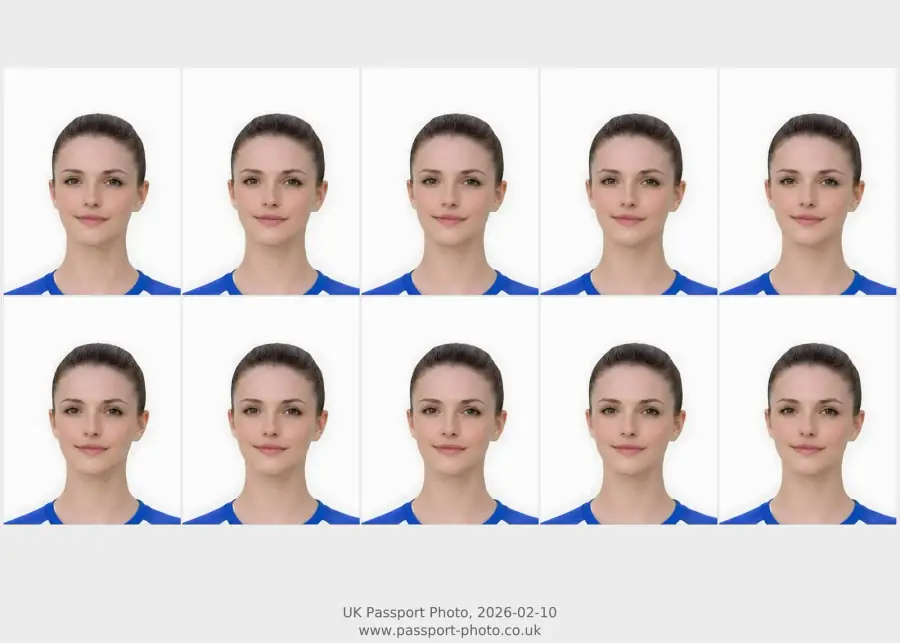
Use a photo code when the online application asks you to link the image digitally.

Start with a phone photo, see the preview first, and only pay for the format you actually need.
Upload a photo, review the preview, and only buy the finished output when you are ready.
Start from a phone photo at home and review the result before choosing an output.
Keep background, crop, framing, and rejection help close to the main upload flow.
Use a phone or camera photo and fix the common issues before you submit it.
Pick a digital photo, photo code, or print-ready sheet without paying for the wrong format.
Start privately, then move into checkout only after you know the photo is worth keeping.
Use these narrower guides when your question is about a specific digital route, rejected-photo problem, family case, or comparison before you start the upload flow.
These are the practical situations that decide whether someone converts, abandons, or asks for help later.
Some photos only need a better crop or background cleanup. Others need a retake. The workflow is strongest when it tells the user which path they are actually on.
Many users only need a digital photo and code. The product should stop them from buying print when the application path does not call for it.
Family cases convert better when the site is honest about movement, retakes, and framing issues rather than pretending every upload can be repaired.
Keep the path short and obvious from the first upload to the final download.
Start with any clear phone or desktop image and open the free preview first.
Check the background, crop, framing, and any obvious issues before you continue.
Pick the digital photo, photo code, or print-ready sheet that matches your application.
No signup needed. Start free, then pay only when you are ready to download the right output.
See the upload flow and preview before you decide whether to pay for a finished output.
Get the digital passport photo and photo code most applicants need for an online submission.
Includes the digital photo, photo code, and a print-ready sheet for home or shop printing.
Pick the page that matches what you need next: digital photo, print-ready sheet, or recovery after a rejected photo.
Choose this when you want a digital passport photo and photo code for a UK online application.
Best for digital submissionChoose this when you need a print-ready sheet for paper-photo use instead of a digital-only file.
Best for paper photosChoose this when your first photo was refused and you need to work out whether to fix it or retake it.
Best for retakesUse these guides for requirements, at-home setup, family cases, and the most common rejection reasons.
Run this quick scan before you move into upload or checkout.
Keep the main journey simple before you branch into deeper help.
Start with a strong phone or desktop image and open the free preview first.
Check the result against the requirements and rejection guides before checkout.
Pick digital, print-ready, or photo code based on the real application route.
Move on only when the image and the chosen output both look correct.
These are the avoidable mistakes that usually cost people time.
Broad homepage visitors need routing, not a long rules page.
The page now sends users to the safest next step based on whether they are researching rules, checking a source image, or choosing a paid output.
Trust should come from clear support, privacy, service boundaries, and route guidance rather than unsupported reviews, offices, official-looking claims, or acceptance promises.
Passport photo uploads include sensitive face images, so trust information should be visible before users start.
Passport-Photo.co.uk is an independent UK online passport photo preparation service. Review the service boundary and choose the route that matches your application.
Short answers to the questions people ask most before they upload a passport photo.
Passport-Photo.co.uk is an independent UK-focused online passport photo preparation service with a preview-first workflow before payment.
No. It is an independent service and is not GOV.UK or HM Passport Office.
No. It is an independent passport photo preparation service and is not GOV.UK or HM Passport Office.
Start with the main UK passport photo online page if you are ready to prepare a final photo. Use the checker first if you already have a photo and want to screen it before paying.
No. It is an independent UK online passport photo preparation service and is not GOV.UK or HM Passport Office.
Yes. The service is structured around reviewing a prepared preview before choosing the final paid output route.
Start with the free preview, check the result, and only pay when you are ready for the final file.